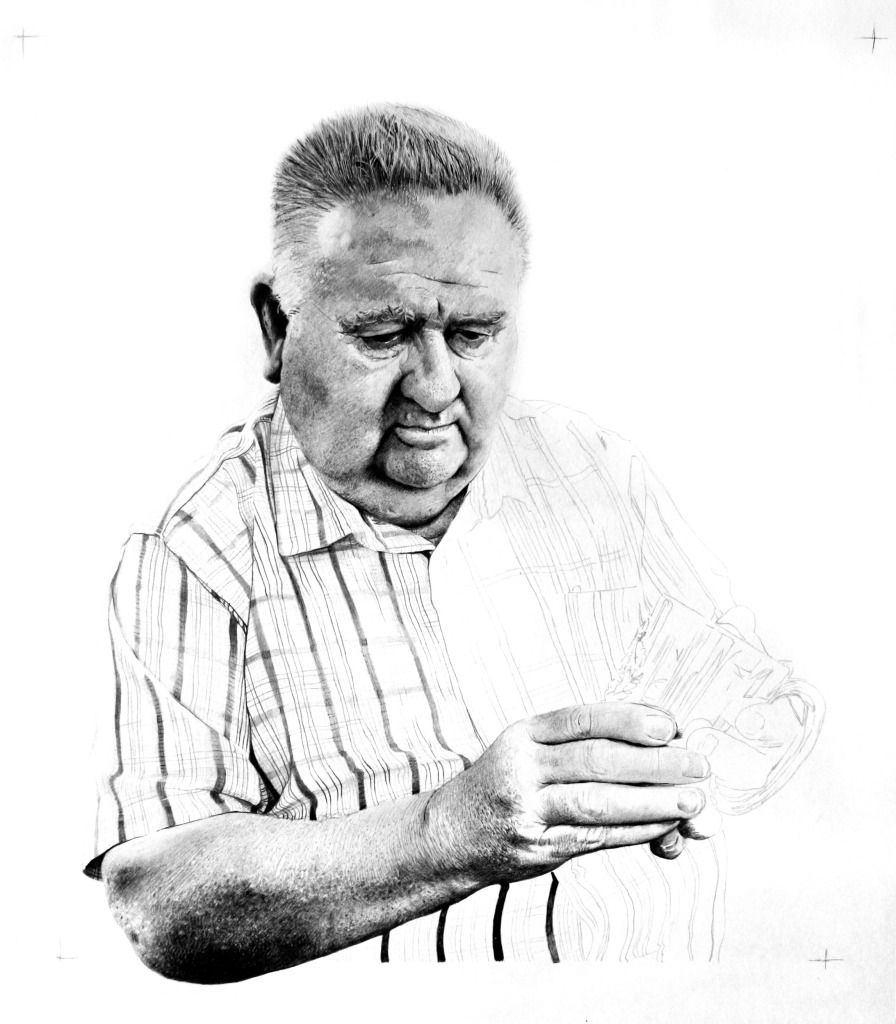
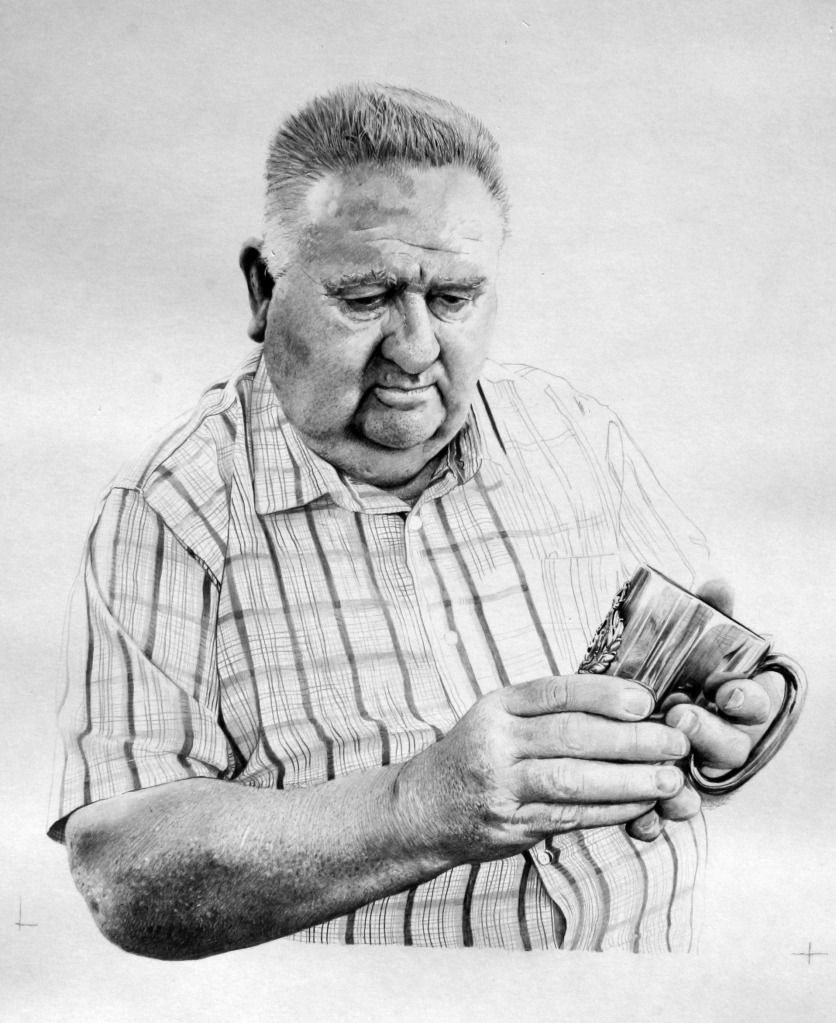
This is a recent commission I have undertaken in pencil. The portrait is of an old friend and fellow ex policeman, Bruce Coltman. He asked me to sketch him holding a silver cup with a crest. Here is the Reference Photo: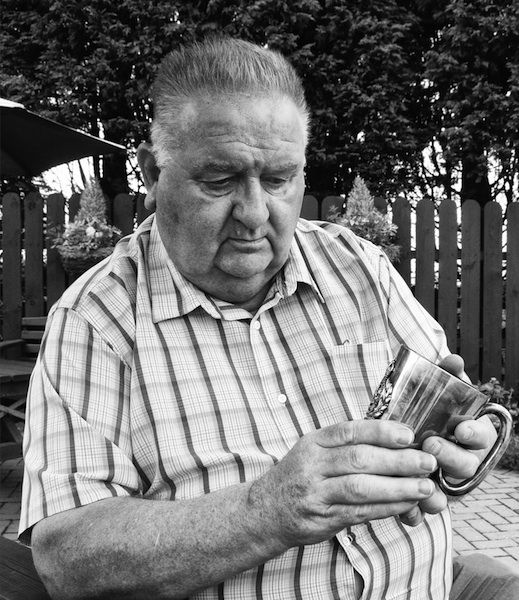
Here is Bruce in deep thought admiring? his cup (wish he had worn a plain shirt, but if you know anything at all about me, I sketch what I see (checked shirt an all!)
Medium: Pencils (2B and 4H)
Paper: Goldline Bristol Board 220gsm
Size: A2 23.4 × 16.5 inches (594 mm x 420 mm)
Duration: 3-4 hours (so far)
STEP 01
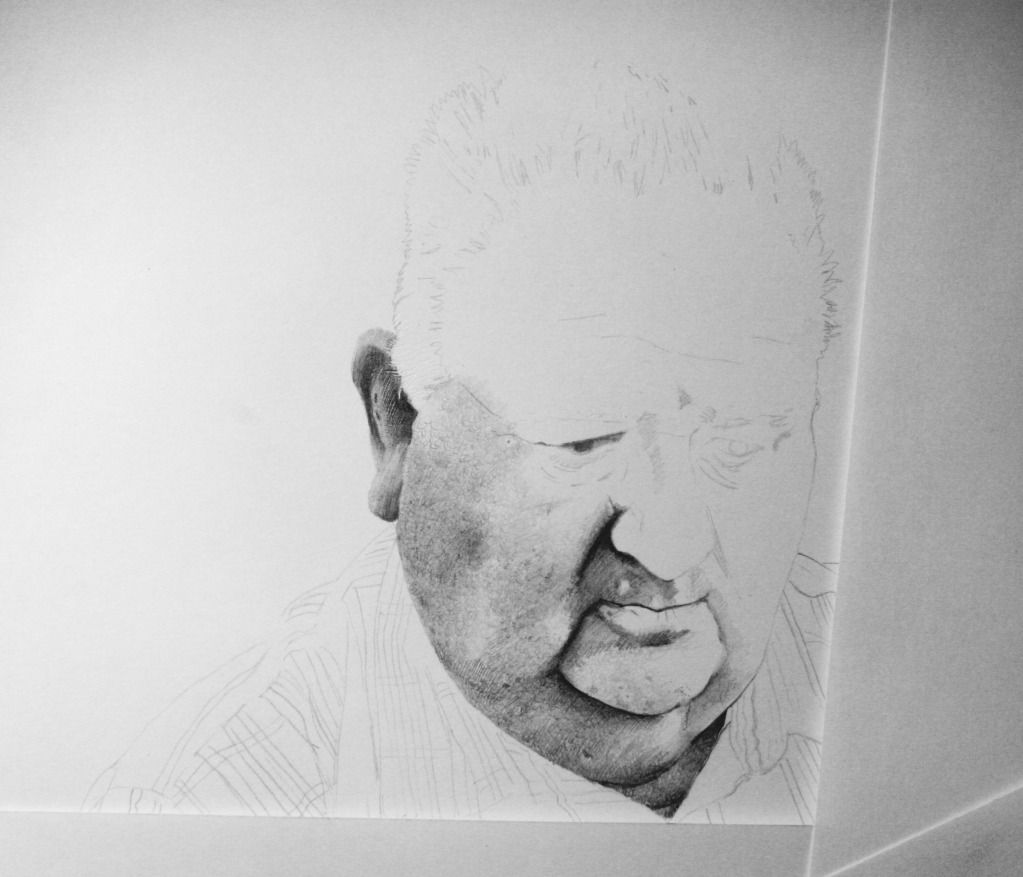
Here I’ve started on the head, working from the ear in view. I had previously sketched out the outline using my
Slip and Slide Method So I’m really just texturing the skin on his face, this time instead of cross hatching, I thought that a squiggly hatch stroke gives me a better skin texture on his face, takes a bit longer but the effects are looking OK. You may notice that I’ve also started using my embossing tools to create this fine white hairs on true brows and a few spots here and there.
STEP 02
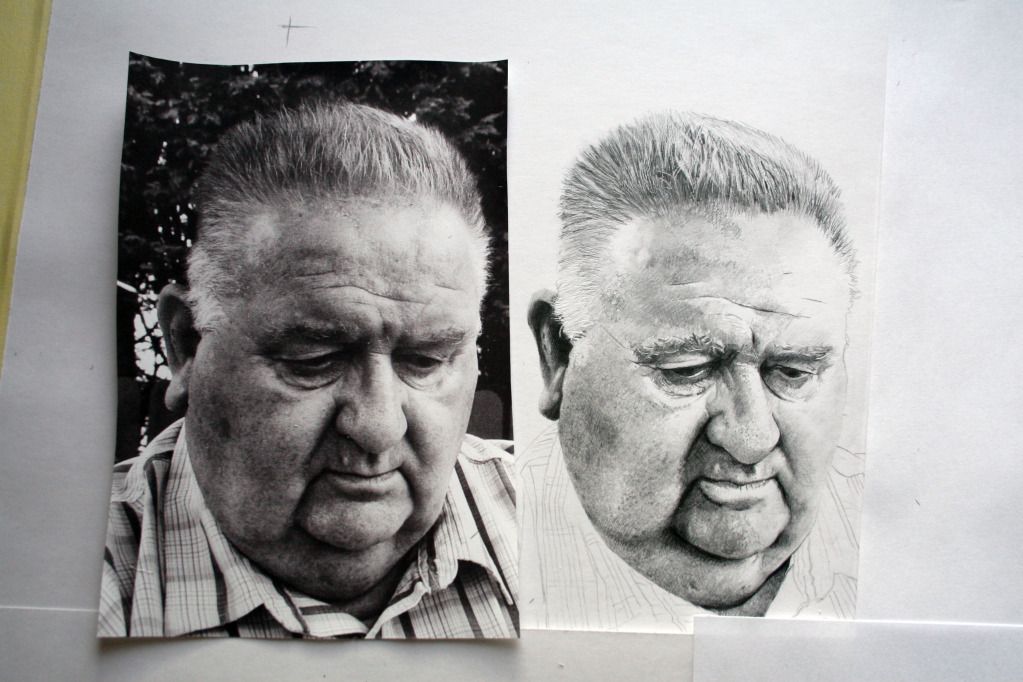
I’ve got my skin tones of his face just about there now, I can (and will) go a plane darker on the hatching where it is required. I’ll sketch the full pose of him holding his cup, but I still like to print off a couple of extra printouts which I cut up and use for reference. This stage I cut out a close crop of his face, asa I’m working on his face at the moment it’s invaluable to have the reference right next to where I’m sketching. This closeness, I find really helps me achieve the likeness I’m striving for. I used a couple of my embossing tools to emboss the highlights of his hair, then go over lightly with a hard pencil (4H) I’m only using two leads on this portrait, a 2B and a 4H, this is enough for the moment.
STEP 03
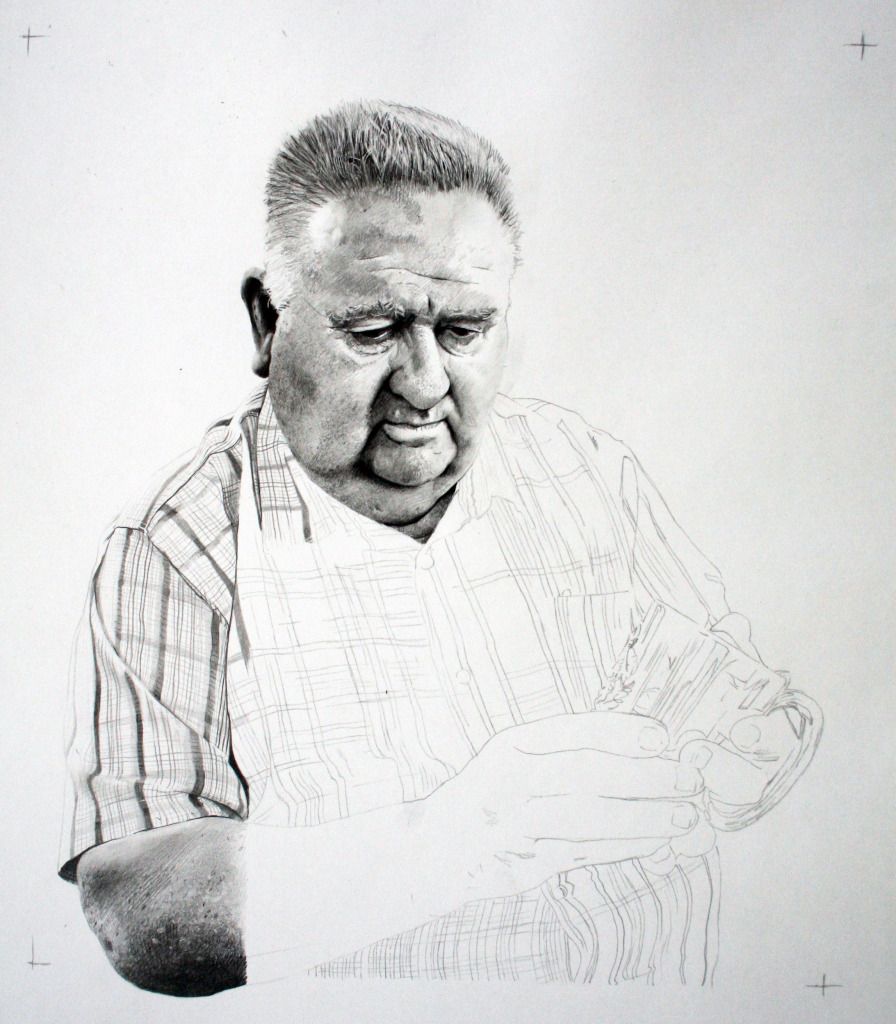
Now I’m really starting to get into this shirt he’s wearing (Tip to self: ask the client what they will be wearing on the day of the Reference shoot! – avoid checked shirts!). Although I’m moaning about this shirt, it is fairly easy to sketch it onto the paper, I just have to make sure that I follow the pattern like for like, I’m actually helped by the fact that there are heavier stripes in the pattern with a couple of double track lines in-between each. The elbow, is more fun to do, I lay a circular squiggly texture hatch with my 4H to begin and go over with my 2B to pick out details in the skin, especially those feint creases going diagonally (those lines really are fine, but patience and a steady hand prevail). Well this is enough for today. You can come back to read how I’m progressing, I’ll be posting my progress over the next few days.
STEP 04
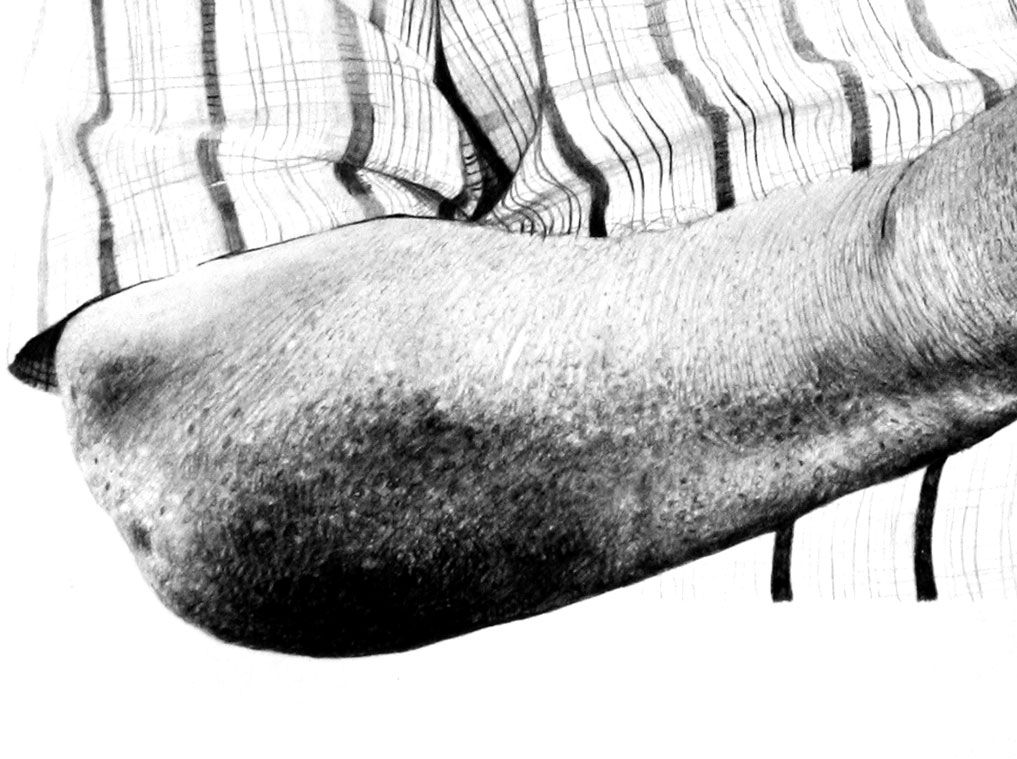
Continuing on from the previous steps, I’m now concentrating on the arm of Bruce, which I began in STEP 03. I’m still using only two pencils leads, a 4H and a 2B, these I’m finding are more than enough to carry on with the tones I need on this portrait, the 4H allows me to ghost hatch the tones I want, I then go over with the 2B and lock them in with an additional hatch of 4H. I kind of sketch layers on each other, the 2B glides beautifully across the 4H, and allows me to go as dark as I require with the minimal of pressure.
STEP 05
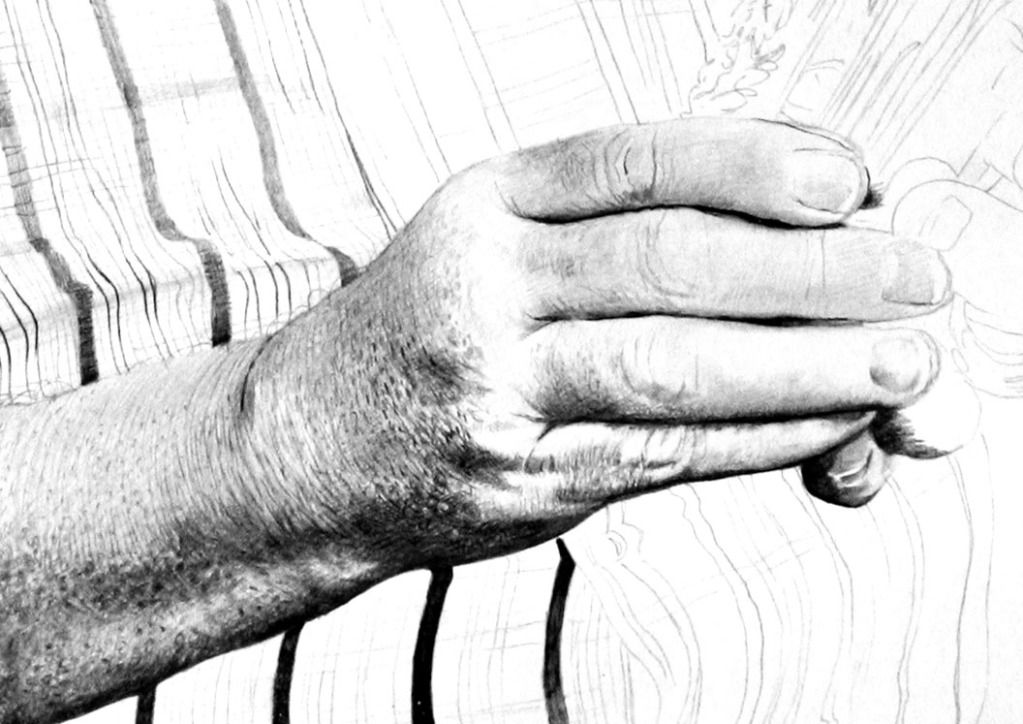
Carrying on I begin work on the hand and fingers, to achieve that old experience weathered hands look Bruce ha, I really have to task the 4H with swirls, squiggles and hatching strokes, these are more subtle on the hands, especially around the knuckles and the fingers themselves, I have to pay particular attention to the skin hi-lights on the fingers, almost imperceptible, but nether less there, I use the finest 2B I possess (3mm Pentel P203 Series pencil) to give me those subtle wrinkles on the back of the wrists as well as those darker freckles/spots he has on his hands. I’m really enjoying working on his arm, trying to maintain an even consistent skin tone at the same time, trying to show the underlaying shapes of muscles in the arm and wrist.
STEP 06
Standing back I and taking a moment to view my progress, I see that I am on the halfway mark on this sketch. The work on the arm and wrist gives me a much need break from the details on the shirt, even though I still manage to sketch in at least one half of it.
STEP 07
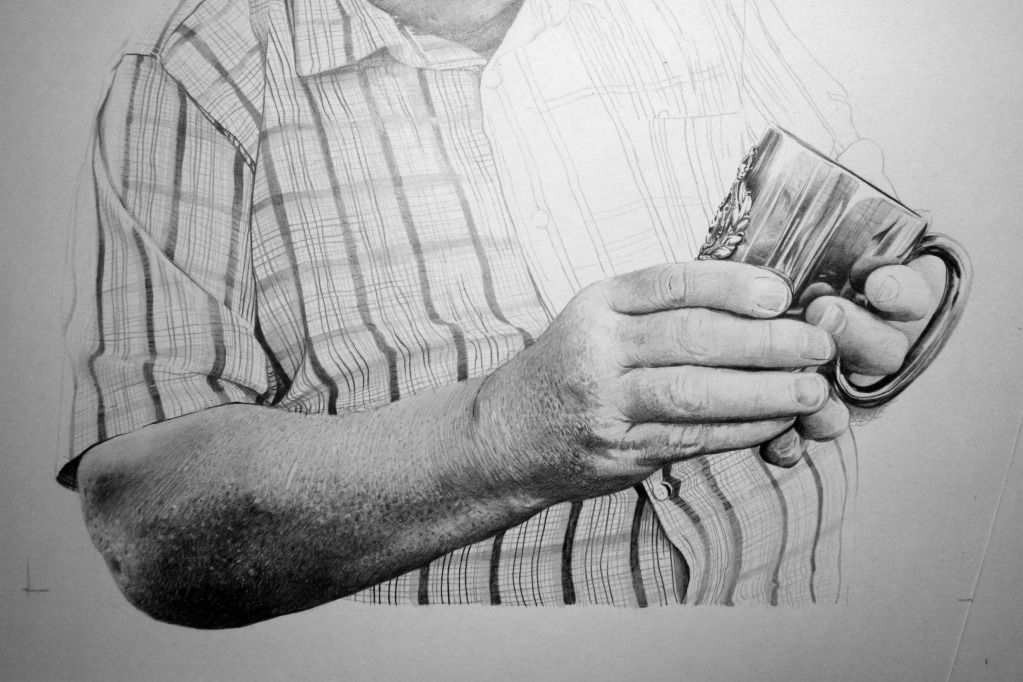
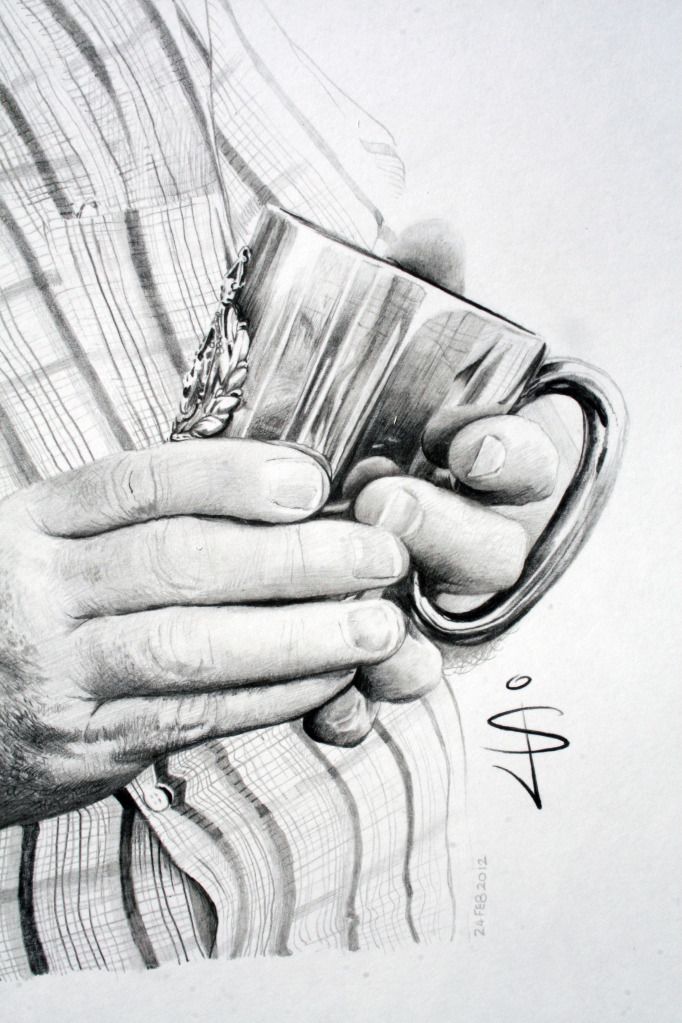
Now I’m concentrating on the check pattern detail of the shirt under his arm, by adding thin horizontal and vertical lines between the darker main stripes, emphasising the contour of his belly. As I work up towards the fingers I cannot resist to begin sketching in the tankard’s shiny handle, I love sketch shine on metal, it really adds that something special to a plain sketch, hopefully here, it will be a focal point after the face, which hopefully draws the observer from the subject’s face looking at his cup. Working on the handle, also means I have to start working on the fingers holding the cup and each of their relevant reflections in the metal on the side of the cup, I have to make sure these reflections are slightly darker and the area outside each is a tone darker for this reflection to stand out inside the cup.
STEP 08
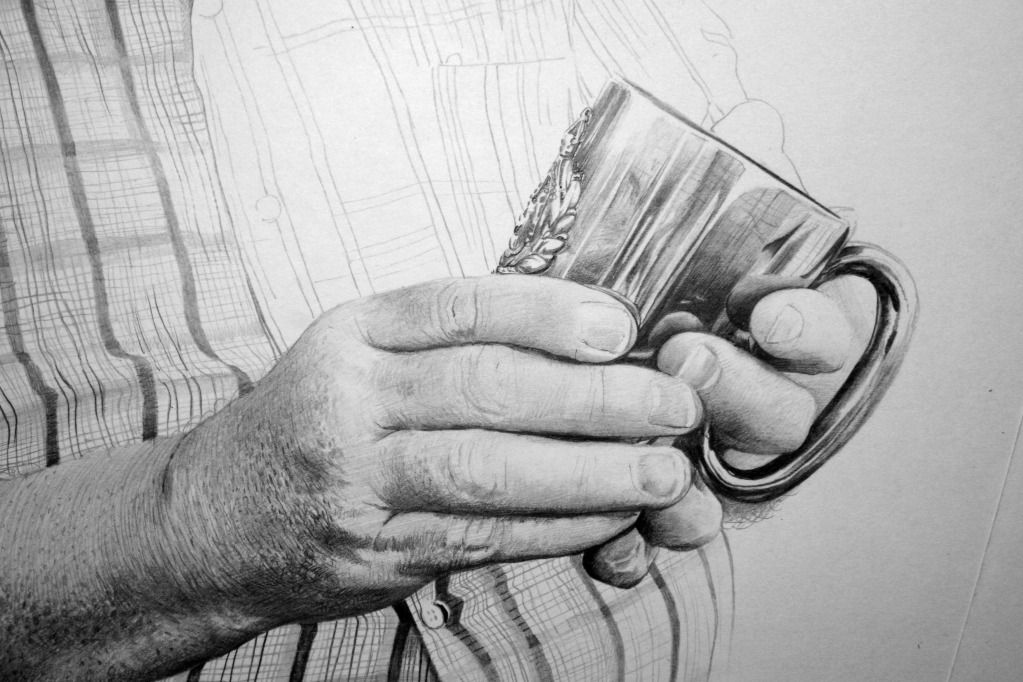
I continue shading in the reflections on the cup, having to use the 2B to get the darkness around the reflected fingertips, the darker I go, the more they stand out and look as if they are on the surface of the cup. The fingers and especially the nails are taking the slightest tones, these I achieve with a 7H, it’s a never ending balance between the lightness of the fingers holding the cup and the darkness of the reflections in the cup. There really is no fast way to achieve this effect, other than with pure bloody patience and concentrating with a focus I’m used to doing. My dear friend and companion of this sketch, patience, does finally pay off (as I know it always will) and the effects are starting to look AOK in my book.
STEP 09
I now being the lonely process of returning to this near impossible shirt! (if truth be told, I love it really) and using the 7H I begin sketching in the feint horizontal and vertical lines travelling to the right, these lines are generally lighter, the direction the sunlight is hitting Bruce;s shoulder, so again, a very light touch is required, no more than a feather brushing a dusty glass picture frame.
STEP 10
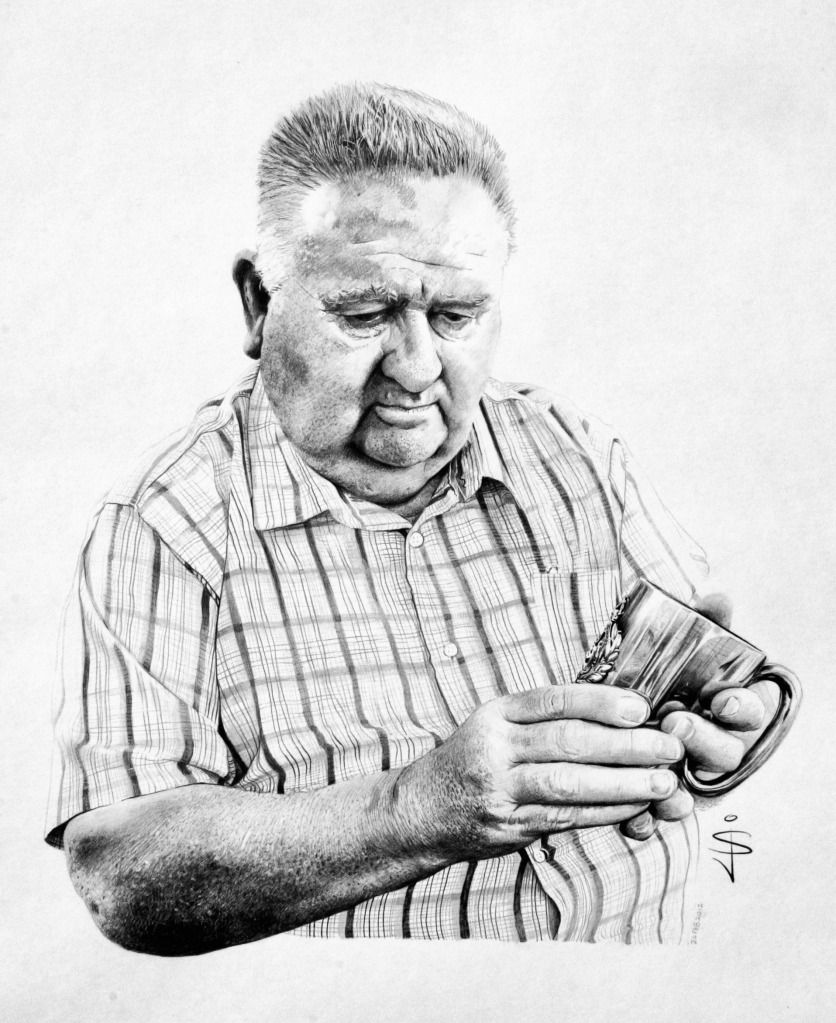
 Concentrating on the on the shirt, and the light direction, I work around the other collar and on my way down the shirt towards his pocket. This check pattern is nearly complete, as I can now begin looking at the shirt as a whole, I darker it here and there and using a kneadable eraser, give it some hi-lights especially on folds where it is require. Just one more thing left to do, than it is finished, my trademark signature, in pencil, using the thinnest (3mm 2B) lead I own. Now it is finished!
 Here is the finished portrait in it’s entirety,
Thank you for your patience and thanks for taking the time to read my tutorial on the steps it has taken me to complete this portrait.
Happy sketching.
Jan
